If you are starting an image to stl workflow, this guide helps you choose among Hunyuan3D, TRELLIS 2, Tripo, and Meshy based on whether your subject is a figurine, prop, or thin structure.
The best model for a figurine may be the wrong one for a lantern or a game prop. I choose by the detail I cannot afford to lose, then check where the result needs to go: a printer, an engine, or another modeling tool.

The short version
- Choose Hunyuan3D when a figurine or product needs to stay close to its reference image.
- Choose TRELLIS 2 when open spaces and thin structures define the object.
- Choose Tripo for hard-surface game props; choose Meshy for stylized characters with a printing focus.
- Decide how you will run the model and what file you need before spending time refining an image.
Read the object before you pick the model
I start with a question: what would make this particular result unusable? A face or outfit that drifts from the photo? A lantern whose openings become solid? A vehicle prop with soft edges? Those are different failures, even if all the inputs are images.
The 3D AI Models guide explains the strengths of Hunyuan3D, TRELLIS 2, Tripo and Meshy. Use it to narrow the choice by subject rather than treating the models as a single quality ranking. No model is best for every image.

The models page organizes the choices around the kinds of shapes each model handles best.
Before choosing, describe the object in plain terms. Is its identity in surface detail, silhouette, open space or crisp manufactured edges? Then describe the destination. A display figurine must survive slicing and support removal. A game prop may need cleaner geometry for editing. A textured preview needs its color information intact. Keeping those requirements separate makes the model choice much easier.
Match the model to the failure you want to avoid
1. Protect likeness and surface detail: Hunyuan3D
For a figurine or product based on a reference, I would start with Hunyuan3D. Its strength is staying close to the picture while preserving fine surface detail and a solid overall shape. That matters when recognizable clothing, hair or product features are more important than an unusually intricate silhouette.
Do not mistake image fidelity for a complete scan. A reference photo shows only the visible side; the model still has to infer what the camera cannot see. Choose an image that reveals the object’s depth and important features instead of expecting the generator to reconstruct hidden ones accurately.
2. Protect gaps and delicate structure: TRELLIS 2
For leaves, cages or lanterns, the empty space is part of the design. If a gap closes or a slender edge becomes a thick lump, a detailed texture will not rescue the shape. TRELLIS 2 is the better starting point for thin, open and complex forms because it handles the gaps and edges other models tend to smooth away.
Inspect the resulting geometry, not just its attractive rendered view. Rotate it until you can see through every intended opening. If the object is headed for a printer, remember that preserving a thin feature in the mesh does not guarantee that your printer can make it. Check the feature at the intended print scale in your slicer.
3. Protect hard edges: Tripo
For a weapon, vehicle or manufactured prop, look at the large planes and edge transitions first. Tripo’s strength is clean hard-surface, game-oriented geometry that tends to need less retopology. It is a sensible starting point when the asset will be edited or placed in a game scene.
Judge it as geometry rather than as a polished preview. Rotate around corners, inspect holes and look for areas where an edge should be straight but has become rounded. A good material can hide a troublesome surface until you try to edit the mesh.
4. Protect a readable stylized character: Meshy
Meshy is a strong all-rounder with particular appeal for stylized characters and printing work. If a mascot or cartoon creature needs a clear silhouette more than strict photographic likeness, it belongs on the shortlist. Meshy also offers rigging and animation on its own platform, which matters if the character is meant to move rather than sit on a shelf.
These are starting choices, not guarantees. I would judge the generated object against the feature named in each step before committing to cleanup.
Give a figurine a photograph it can work from
A person, pet or character raises a separate input problem: a flat image does not show the back, the full depth of a pose or parts hidden by clothing. For a standing figure, I want the whole subject in frame, including the feet. A slight angle reveals more shape than a straight-on shot, while arms held away from the body are easier to distinguish from the torso.
The figurine from photo guide takes that input through generation, repair, a stand base and export for printing. It is useful when the real goal is a physical figure rather than simply choosing a model family. SupaVoxel’s generator can take a picture plus up to 4 extra angles; those views are most valuable when the back or side of the subject matters.
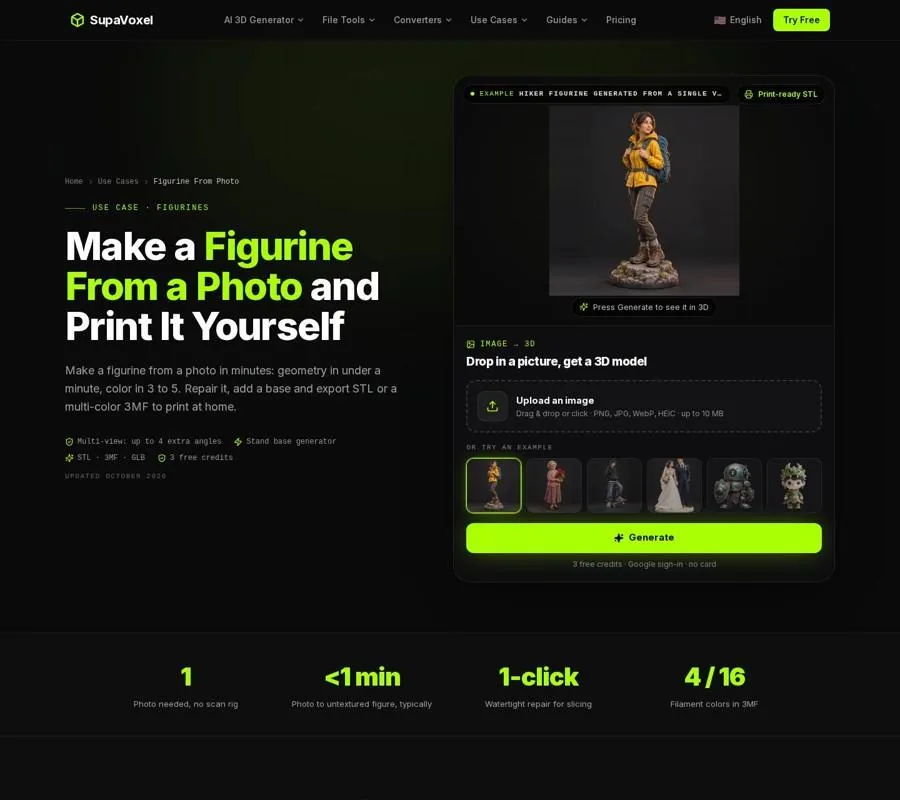
The figurine page follows the work beyond generation into repair, a base and a printable export.
For a print, inspect ankles, arms and the underside of the chin before you export. Thin ankles are a structural concern; overhangs under arms and chins are support concerns. A stand base gives a standing figure a more dependable footprint, while supports should contact less visible areas where possible. Neither choice fixes a missing foot or a pose that the source image concealed.
Choose between hosted tools, open weights and a simpler online route
Model behavior is only part of the decision. You also need a practical way to run it.
You can run TRELLIS 2 yourself under its MIT license; the earlier Hunyuan3D 2.x weights are also available for local use. That route offers control, but the models need substantial local GPU capacity: the models guide puts self-hosting at 24 GB or more. To use Hunyuan3D 3.x, Tripo or Meshy, you go through each maker’s hosted offering and its pricing and licensing terms. If you do not want to maintain a local setup, check the hosted service’s export and usage terms before building a workflow around it.
The Meshy AI guide is worth reading if stylized prints are competing with game-character needs. It covers Meshy’s printing focus alongside features such as retexturing, rigging and animation on Meshy’s platform. Those extras are useful only if your project actually calls for them.

The Meshy page separates its generation strengths from the additional tools available on its own platform.
If the job is simply to turn a picture into a textured model without choosing a model or supplying a local GPU, SupaVoxel’s separate online generator is another route. New accounts get 3 free credits at sign-up; textured generation typically takes 3 to 5 minutes. Its Studio print-prep features for generated models—including repair, a stand base and plane cuts with pins—are included in every paid plan from $25 a year. Pick this route for the workflow it offers, not because it replaces Meshy’s rigging or animation.
Check the destination file before judging the result
A model can look finished in a viewer and still be the wrong deliverable. For a single-color print, STL carries geometry but not color or units. For a color print, 3MF can carry per-object colors and real millimeter units. For games or web use, GLB can package a mesh and its textures together. If you plan to edit elsewhere, consider the format that your next tool expects before exporting.
The free browser-based 3D File Converter collection helps when the model is right but the file type is wrong. Conversion cannot invent information the source file lacks. Turning a colored model into STL drops that color; opening an STL in a slicer requires you to check scale because STL does not specify units. OBJ also has no unit, so confirm dimensions rather than trusting the number displayed on import.
For printing, check mesh integrity as well. A watertight mesh encloses a volume without unintended gaps. A non-manifold area is geometry whose edges or faces do not form a clear solid boundary, which can confuse a slicer. Repair can address mesh defects, but it cannot decide how a missing arm or hidden surface should have looked. I inspect the shape first, repair the solid next, then check scale and supports in the slicer.
FAQ
Can I use the same model for figurines and game props?
You can try, but choose according to the feature that matters most. Hunyuan3D is the stronger starting point for reference-faithful figurines; Tripo is better suited to clean hard-surface game geometry. Inspect either result before deciding it is ready for its destination.
Is an open model automatically better for a thin object?
No. TRELLIS 2 is a useful choice for thin, open shapes because of how it handles that geometry, not merely because it has open weights. The shape still needs inspection, and a printable version must suit your printer and chosen scale.
Will converting a textured model to STL keep its colors?
No. STL stores geometry only. If color matters, keep a format that supports it, such as GLB for a textured model or 3MF for a color-printing workflow.