This guide is for anyone comparing image to stl tools on a single photo. It shows how to test Hi3D and Hitem3D fairly, judge geometry before texture, and check exports in a slicer before choosing.
The best-looking textured preview is not always the best model to print. I use one centered photo, inspect the shape from every side, and slice an export before deciding which image-to-3D tool suits the job.
The short version
- Use the same centered photo in each tool. Change the input, and you lose your basis for comparison.
- Judge geometry before texture: turn the model, inspect its back and underside, and look for fragile features or shapes invented from the unseen parts of the photo.
- Hi3D’s free plan lets you preview results but not download 3D files. The Hitem3D pricing and plan comparison explains that limit, which matters because you cannot complete a slicer test on a free Hi3D result.
- Slice whichever exports you can obtain. A convincing viewer image does not tell you how a model will stand, need support, or behave at your intended print size.
Step 1: Choose a photo that makes the test fair
Pick a photo with one clear subject, centered in the frame. A three-quarter view is useful because it reveals some depth as well as the front. Soft, even light helps separate the object’s actual shape from its shadows; a dark shadow under a chin, for example, can look like geometry the tool should reproduce.
Use the same file for every run. Do not crop it differently, remove the background in one tool but not another, or give one tool extra views unless you are deliberately testing multi-view input. Keep a copy of the original so you can compare every result against what the camera actually saw.
Choose a subject whose back matters. A figurine with an arm held away from its body can reveal whether a generator makes a sturdy connection or an awkward thin feature. A hard-surface object can reveal whether its edges remain straight. Neither result should be judged as a dimensionally accurate replacement part: an image generator must guess depth and unseen surfaces from visual evidence, not measurements.
Before generating, write down what would make the model useful to you. If you plan a single-filament print, prioritize silhouette, connected parts, and a workable base over surface color. If the destination is a game scene, texture quality may deserve more weight. That distinction keeps a polished preview from overruling the requirements of the actual job.
Step 2: Inspect Hi3D, but understand the trial boundary
Hi3D is the current name for Hitem3D. Its free plan provides lifetime credits for trying generations, including untextured v3.0 Quality results. Open your result in its viewer and turn it slowly. Look past the face or front panel that resembles the photograph: check the sides, back, gaps between parts, and the surface that would face the build plate.
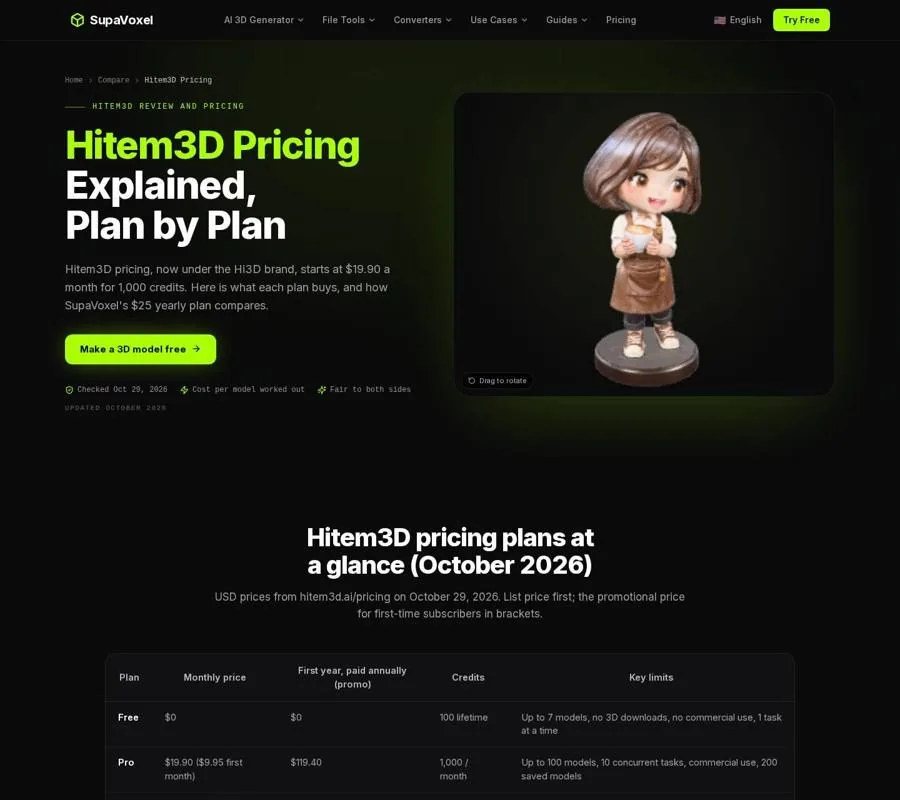
The Hitem3D pricing page shows the plan limits that affect a print comparison, including the free plan’s lack of 3D downloads.
Texture can disguise poor geometry. A dark painted line might appear to be a groove; a textured patch might make a shallow feature look deeper than it is. If the viewer offers a way to examine the untextured shape, use it. Otherwise, keep rotating the model and judge its silhouette rather than its surface image.
Be precise about what this trial proves. You can assess the visible model in Hi3D’s browser, but the free plan has no 3D downloads. You therefore cannot take that free result into a slicer to inspect supports, thin sections, or the first layers. A paid plan is needed to download a Hi3D model for that final check. I would record the preview as a provisional judgment, not call it print-ready.
Step 3: Make a comparable model you can export
Run the same source photo through SupaVoxel’s image to STL workflow. For a single-color print, select geometry only: a filament printer cannot reproduce a picture-like texture from a plain STL, so paying attention to the shape is the useful test. SupaVoxel lists geometry-only generation at 1 credit, and new accounts receive 3 free credits at sign-up.
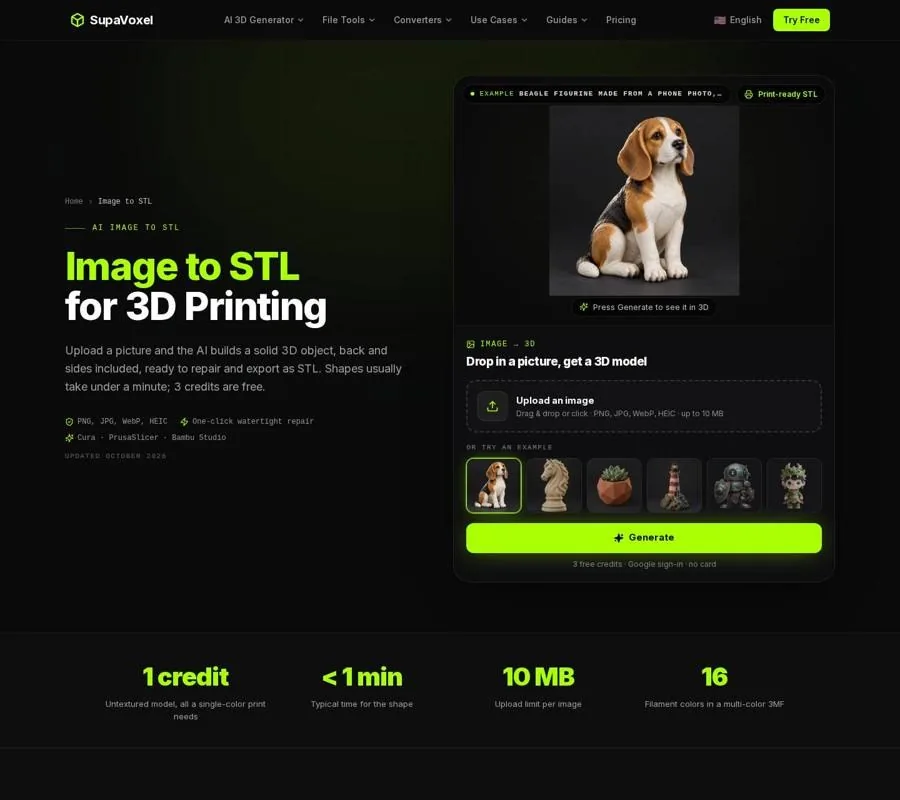
The Image to STL page describes generating a full object from a photo, then preparing it for a slicer.
The free download is GLB, not a direct STL export. Direct STL export requires a paid plan; a GLB can also be converted to STL separately. Keep that distinction clear when comparing trials. A downloadable GLB gives you a file to inspect outside the generator, while Hi3D’s free preview does not give you a 3D file to carry into the same check.
Rotate this model as you did the Hi3D result. Try to use the same viewing angles and ask the same questions. Did the tool preserve the spaces between features? Did it create a plausible back without turning it into an unwanted bulge? Do feet, paws, or other contact points give the object somewhere sensible to stand? If both tools make the same mistaken guess, the photo may be the problem. Try a clearer view before concluding that either generator cannot handle the subject.
Step 4: Compare shape before surface finish
I find it helpful to make a short inspection note for each model rather than declare a winner from the opening preview. Record the strong and weak points in plain language: “clear silhouette, uncertain underside” is more useful than “looks good.”
Start with the outer shape. Rotate each result until the original camera view disappears, then compare its profile with what you know about the object. Image-to-3D models predict the parts the photo does not show. That prediction may be convincing on a symmetric subject and unreliable on an unusual back or an arm hidden behind the torso.
Next, examine connections. A visually separated hand, tail, handle, or prop may be an isolated shell or attached by a narrow bridge. Either can cause trouble in printing even if the textured preview reads as a complete object. Look for holes and surfaces that seem to turn inside out, too. A slicer expects a closed, manifold mesh: its surface must define a consistent inside and outside.
Finally, consider detail at print size. A tiny bump that looks crisp when you zoom into a viewer may vanish when the object is scaled down. Conversely, enlarging the model can expose rough surfaces that seemed harmless in a small preview. This is why I would not score fine detail without also checking the model at the size I intend to make.
Step 5: Slice the export you prefer
Bring an available export into your slicer and set its real-world size there. STL does not specify real-world units, so do not assume the imported dimensions are already what you want. Orient the model with its most stable surface toward the build plate, then inspect the layer preview—not just the solid-looking model view.
Look for unsupported islands, overhangs that need support, and features that disappear between layers. Check whether the feet or base make enough contact with the plate. If the slicer flags non-manifold edges, repair the mesh and slice it again; repairs to a closed solid do not replace checking supports and fragile parts. SupaVoxel’s in-studio repair and other print-prep features for generated models are included in every paid plan from $25 a year.
This step makes the comparison intentionally uneven when you are testing free plans: you can inspect an exported SupaVoxel GLB after conversion, but you cannot slice a Hi3D free-plan result because there is no download. If you want a full head-to-head print test, use a downloadable Hi3D export. Until then, say which model has the better visible geometry and which has actually passed your slicer check. Those are different conclusions.
When a different comparison matters
If your destination is a game pipeline rather than a printer, the deciding questions may change. The Neural4D alternative comparison is useful when you need to weigh print preparation against Neural4D features such as FBX export, PBR maps, and remeshing. Apply the same-photo method, but judge the exported asset for the work you will actually do next.
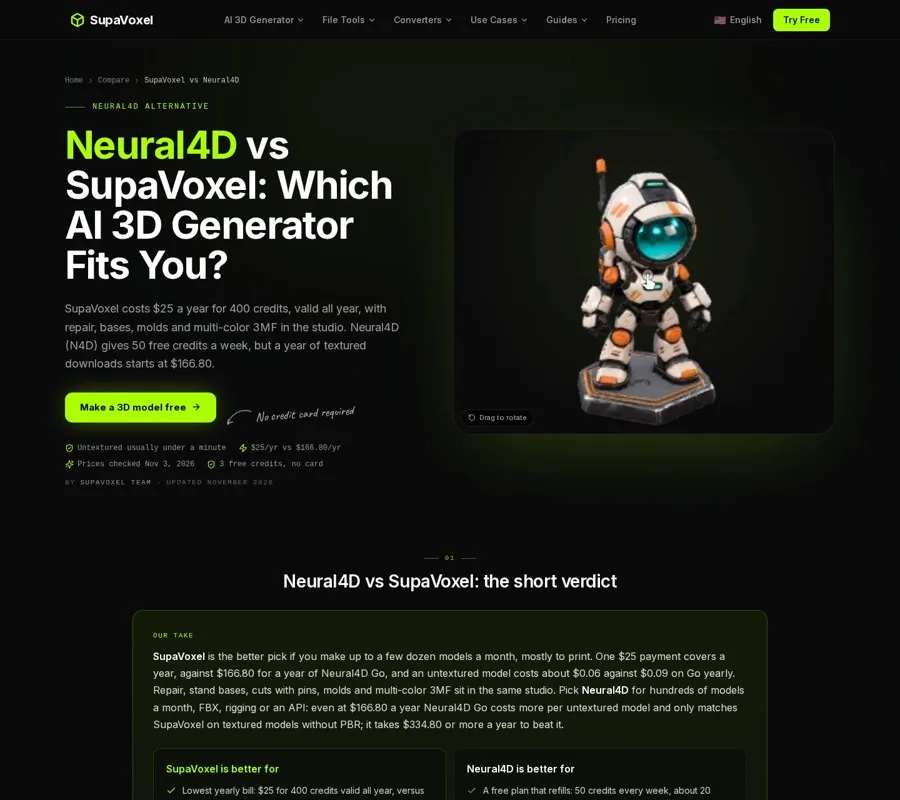
The Neural4D comparison page separates game-pipeline features from print-focused preparation.
Likewise, read the Hyper3D Rodin workflow comparison if you expect to keep editing topology or use its plugins before the model reaches a printer or game engine. A tool that suits further mesh work is not automatically the best shortcut to a printable object. Keep the photo constant, then test the output against its intended destination.
FAQ
Can I print a model from Hi3D’s free plan?
Not directly from that plan. Hi3D allows browser previews on its free tier but does not provide 3D downloads there, so you need a downloadable export to perform the slicer check.
Should I compare textured or untextured results?
For a single-color print, start with geometry. Texture can make shallow or missing details look convincing in a viewer, while the printer needs usable physical shape. Judge texture separately if your intended output can use it.
Does a clean preview mean the mesh is printable?
No. Rotate the model to inspect unseen surfaces, then check an export in a slicer for size, contact with the build plate, supports, and mesh errors. A browser preview cannot answer all of those questions.